 Making text flash. Gimp 2.4+
TutorialClick on thumbnailed images to enlarge
Today class, we are learning to create flashing text.
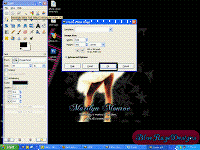
 Step Two: Ok, well I assume we all know how to put text on the page.
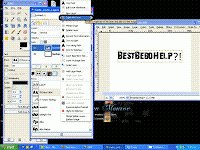
Hopefully you have the layers dialog open (IF NOT > go to Dialogs > Create new Dock then press "layers, channels, path")
Right click on the text layer and select "Duplicate layer"You will need to do this a number of times if you want more then 2 colors to flash. then just repeat the next few steps for each layer

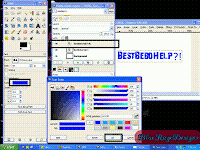
Step Three: To change the color of the text (Other wise it won'tflash) make sure the duplicated layer is selected (It'll be the top layer)And make sure the "Text tool" is still active. To make sure you're changing the color of that layer, Click somewhere inside the image where the text is.When you'vemade sure you've got that selected Press the color button in the text dialog, a pop up will appear asking what color, Make your choice.
Step Four: Now select the very first layer above the "background" layer, and RIGHT click it, Selected "merge down"
NOTICE: This is up the TOP. Its VERY different from "Merge visible layers" DON'T select Merge visible layers if you want text to flash
Step Five: Next, go to your image and right click anywhere in the image, find "Animation > Playback"
should pop up
This is just to
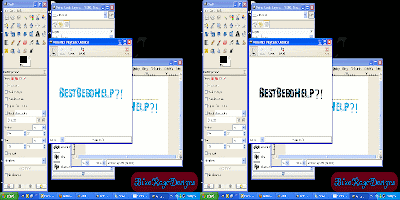
 Step Six: If you did the animation step this box should appear, press "play" up the top if its not already playing.
Next press the x button on this window to close the window.
Next save the image as .GIF


No comments:
Post a Comment